A Review of Spelljammer Academy: Behold H’Catha
The final instalment of Spelljammer Academy is here and so is my final play test review of this series (after a bit of summer fun delaying my write up!).
Spoiler alert! This article discusses the new Spelljammer adventure from WotC in detail, so any player cadets reading this may want to turn their ships now before we head into the depths of Wildspace spoiler territory.
Read on to hear about our experience running the adventure, together with some tips for other DMs planning to run the module. This time I have also created a cool token for the Star Lancer as a bonus in addition to the usual maps (WIP, one uploaded and more coming soon!) for the adventure.
The module used to be free on D&D Beyond but alas it has since gone offline. However, it is still available here if you need access:
- Link to the module on 5eTools: https://5e.tools/adventure.html#sja
- Link to a PDF of the module courtesy of Wolfen_Fenrisen on Reddit: https://www.reddit.com/r/spelljammer/comments/wjyam3/spelljammer_academypdf/
If you are looking for one of my guides to the other adventures in this series please use the links below:
- Adventure 1: Orientation
- Adventure 2: Trial by Fire
- Adventure 3: Realmspace Sortie
- Adventure 4: Behold H’Catha - this article
TL;DR; In a rush? The final instalment of Spelljammer Academy is a fun and balanced adventure and leads nicely into the main Spelljammer campaign setting. Tips for DMs and a token for the new Spelljammer monster are below … and due to summer distractions, some of the battle maps are slightly delyed but coming very soon!
- Link to D&D Beyond module here: https://www.dndbeyond.com/sources/sja
- Free Star Lancer tokens: take me to the tokens
- Free 🗺️maps: take me to the maps
Summary
“Behold H’Catha” is the fourth and final Adventure in the freebie Spelljammer Academy series on D&D Beyond and takes the party to the eighth and farthest planet from the Sun in Toril's solar system, H’Catha. It is designed for three to seven 4th-level characters. Although not as brutal as its predecessors, if you have a smaller party, you may want to make some modifications (which I cover below) to avoid a TPK. This adventure runs on directly from the preceding one, and so if you have not played that it is recommended you go back and start there.
Play time: it took us around 3 hours
DM Prep time: 30-60 minutes
First things first, it is worth pointing out that anyone hoping for a nice clean ending in this final adventure will be disappointed! It does come to a nice milestone point with your cadets graduating, but leaves lots of threads open! So no big surprise, this is a loss leader / teaser to get people to buy the new Spelljammer campaign setting which continues the story directly in “Light of Xaryxis”. If you do not plan on buying the Spelljammer campaign setting, then it would be relatively easy to homebrew a follow on from this, or even tweak this adventure to bring things to a clean end.
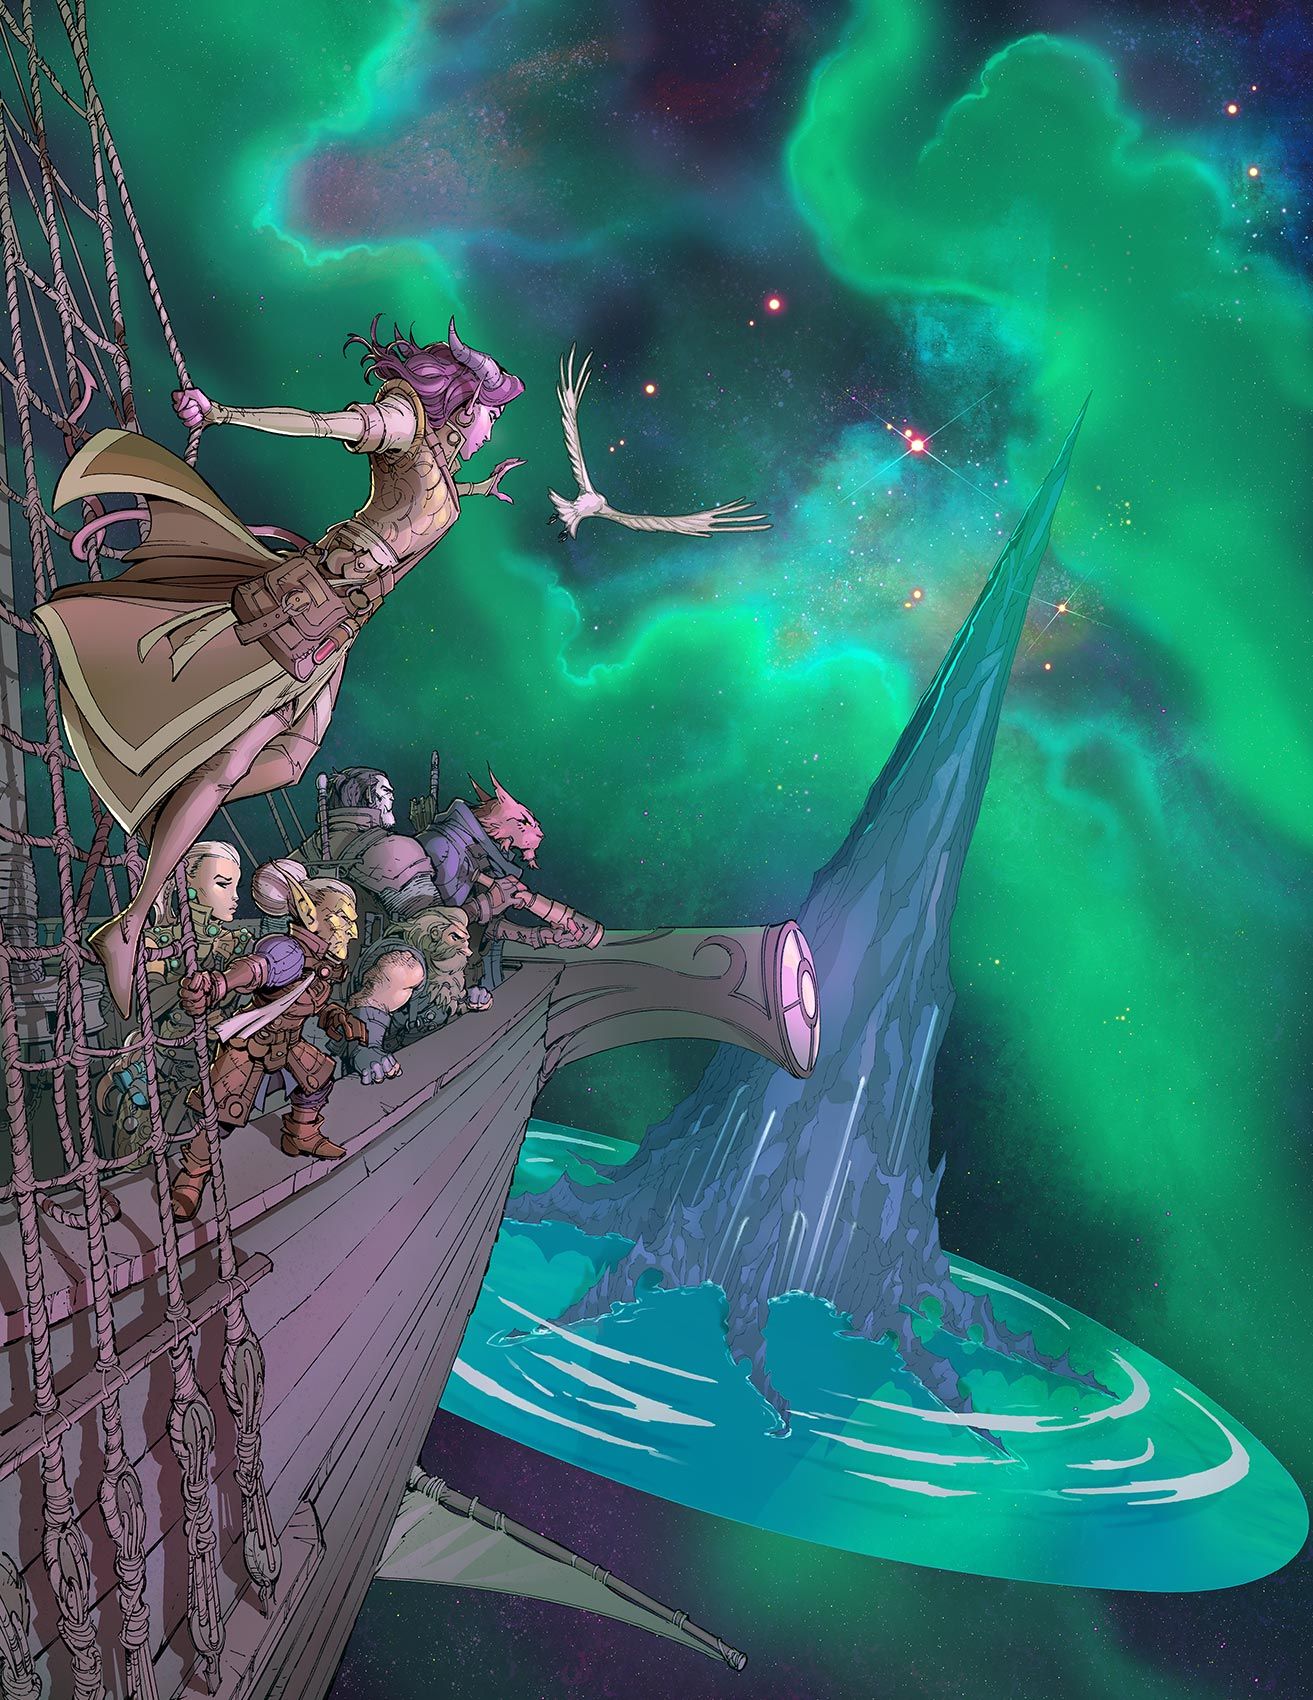
Like all of the previous SJA adventures, Behold H’Catha is similarly “railroady”, but not so much that the players should feel it. Things kick off with an exploration encounter on a strange new planet that is somewhat of a cross between disc world and Thangorodrim, with some Beholder-kin thrown in. Nice!
As well as a fun role-playing encounter with the beholder kin, there is a nice space battle with a new Spelljammer monster and the final combat sets the scene well for the follow on adventure.
Is it any good?
This adventure is a nice finale to the story arc, although it does leave a lot of open questions and it’s clearly positioned to dovetail into “Light of Xaryxis”, the next adventure featured in the new Spelljammer campaign set. Either way I enjoyed it and am looking forward to more Spelljammer goodness in the coming months!
DM Tips for Running the Adventure
Here are the final set of tips for this last instalment of Spelljammer Academy:
1. Why the Asteroid? Despite being given the mission an adventure or two earlier, it was at this point that my players asked what was the significance of the adamantine asteroid. If yours do, then you may want to be better prepared than I was! In the earlier adventure it essentially points to the fact that adamantine is valuable and no further explanation is given. You may want to hint at some further intrigue in addition to this (perhaps they have heard there is rumour of it being used in a new helm being developed that can travel faster than Spelljamming warp speed or some weapon of space warfare that uses adamantine rods to modulate the crystalline laser cores etc).
2. That Alien Planet Feeling. This is the first time the players have been on an alien planet and it’s a great time to amp up the “off world” feeling here. I wish I had prepped a little extra narrative to bring to life how the birds sounded strangely alien, the weird sensations as the water lolled and lapped like honey in the slightly lower gravity and the thin cold light from a small and distant sun casting dark shadows on the mountain.
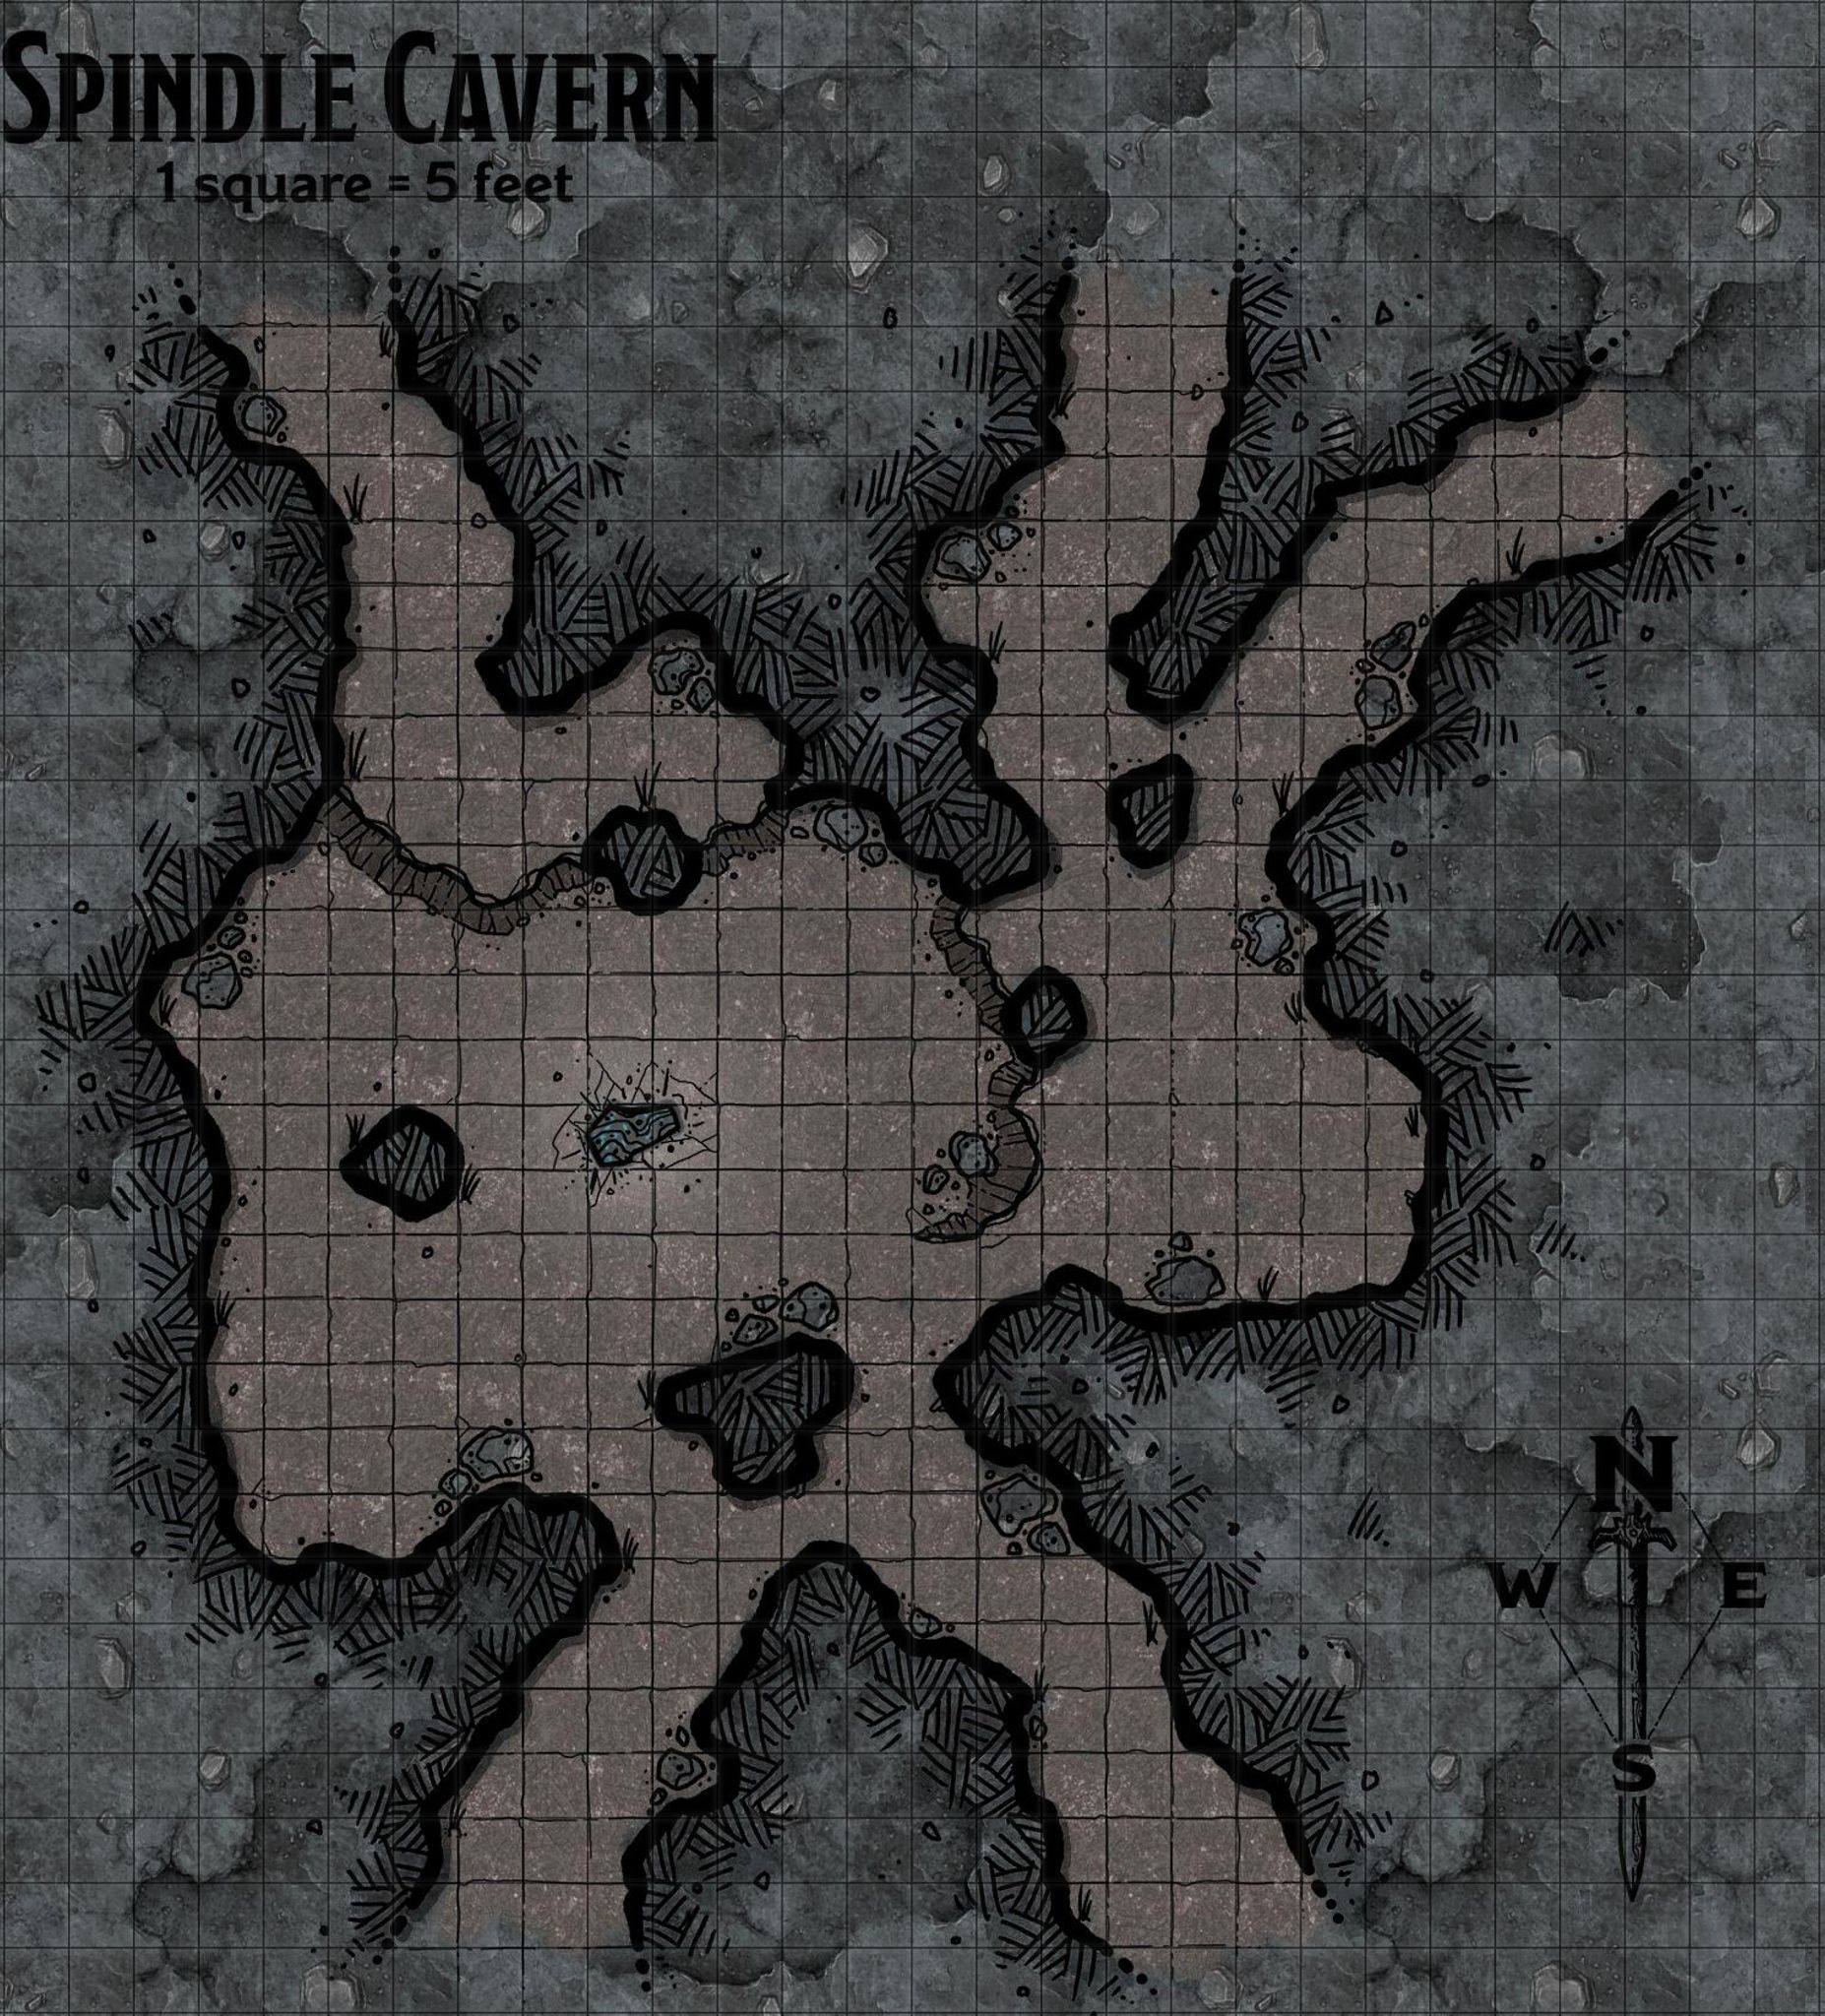
3. Spindle exploration:
- Don’t push the button! In the Spindle encounter, there are multiple tunnels leading deeper into the mountain, but it is clear that the players are not supposed to go through them. This is like putting a big red button in the room and expecting them not to push it! To handle this, you can either have Tarto contact them on the sending stone if they start to deviate, or as I did, you can close off these tunnels from the outset and make the cavern self-contained. I prefer the latter as it feels less railroady to the players at least.
- Free map! I have uploaded a version of the cavern map with the tunnels and plan to post back here with another closed version soon. Lots of nice weather has distracted my efforts but watch this space…!
- Sleeping Ogre - the ogre is awake when the players enter the cavern, but as written, it is a passive NPC unless attacked. Given that this is it’s lair, that felt a bit off to me, so I made the ogre asleep from the outset. The communication is telepathic so was easy not to wake it, and the prospect of waking it added a little tension.
- Combat vs social encounter: The encounter with the spectators is a really fun role-playing opportunity and so I would recommend you try to steer the players away from combat as far as possible - plus there is some good combat later in the adventure.
- (Murder hobos only:) non-melee combat! I have a feeling my usual table (rather than my mini adventurers) would have found it impossible not to end up in combat. If this does happen (especially if you have a smaller party size), you may need to tone down the fight to avoid a TPK. Although the creatures are not overly strong, the gazers’ and spectators’ rays can be pretty debilitating, and both can (and should!) just fly out of melee range. If you need to tone this down, you can make the gazers flee, and leave the ogre asleep until it wakes when you feel they can handle it.
4. Long rest after H’Catha. The travel time after the first encounter is a few days, so make sure you give your players a long rest so that they are primed for the upcoming battles.
5. Asteroid Encounter:
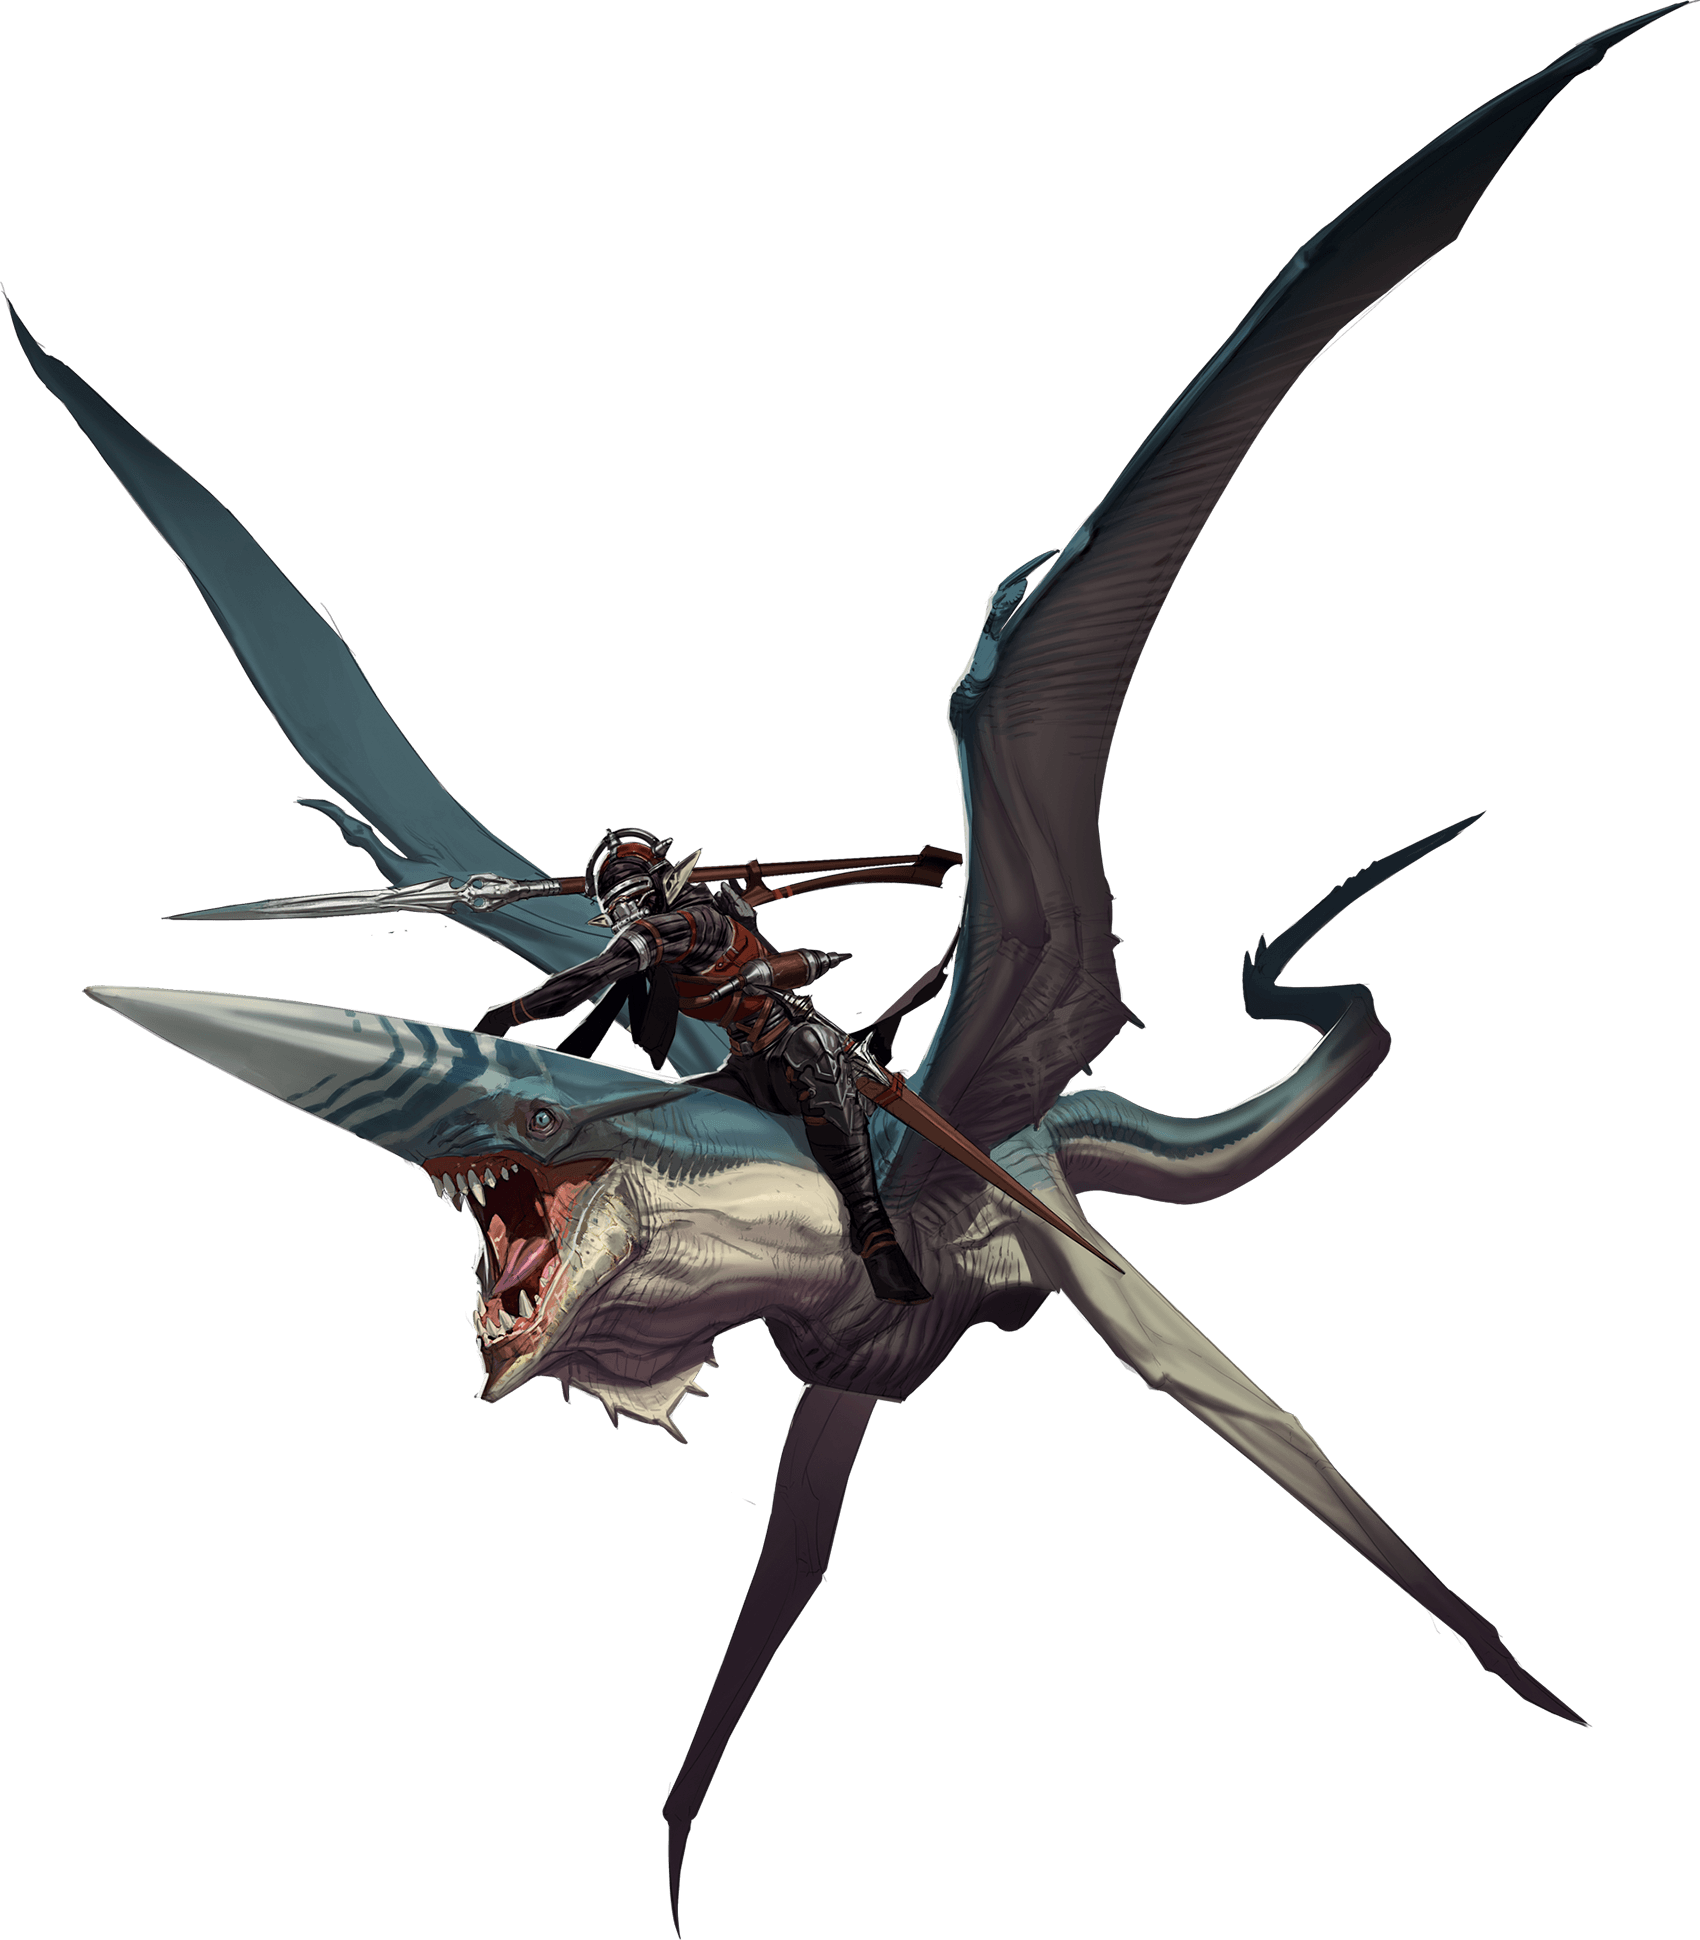
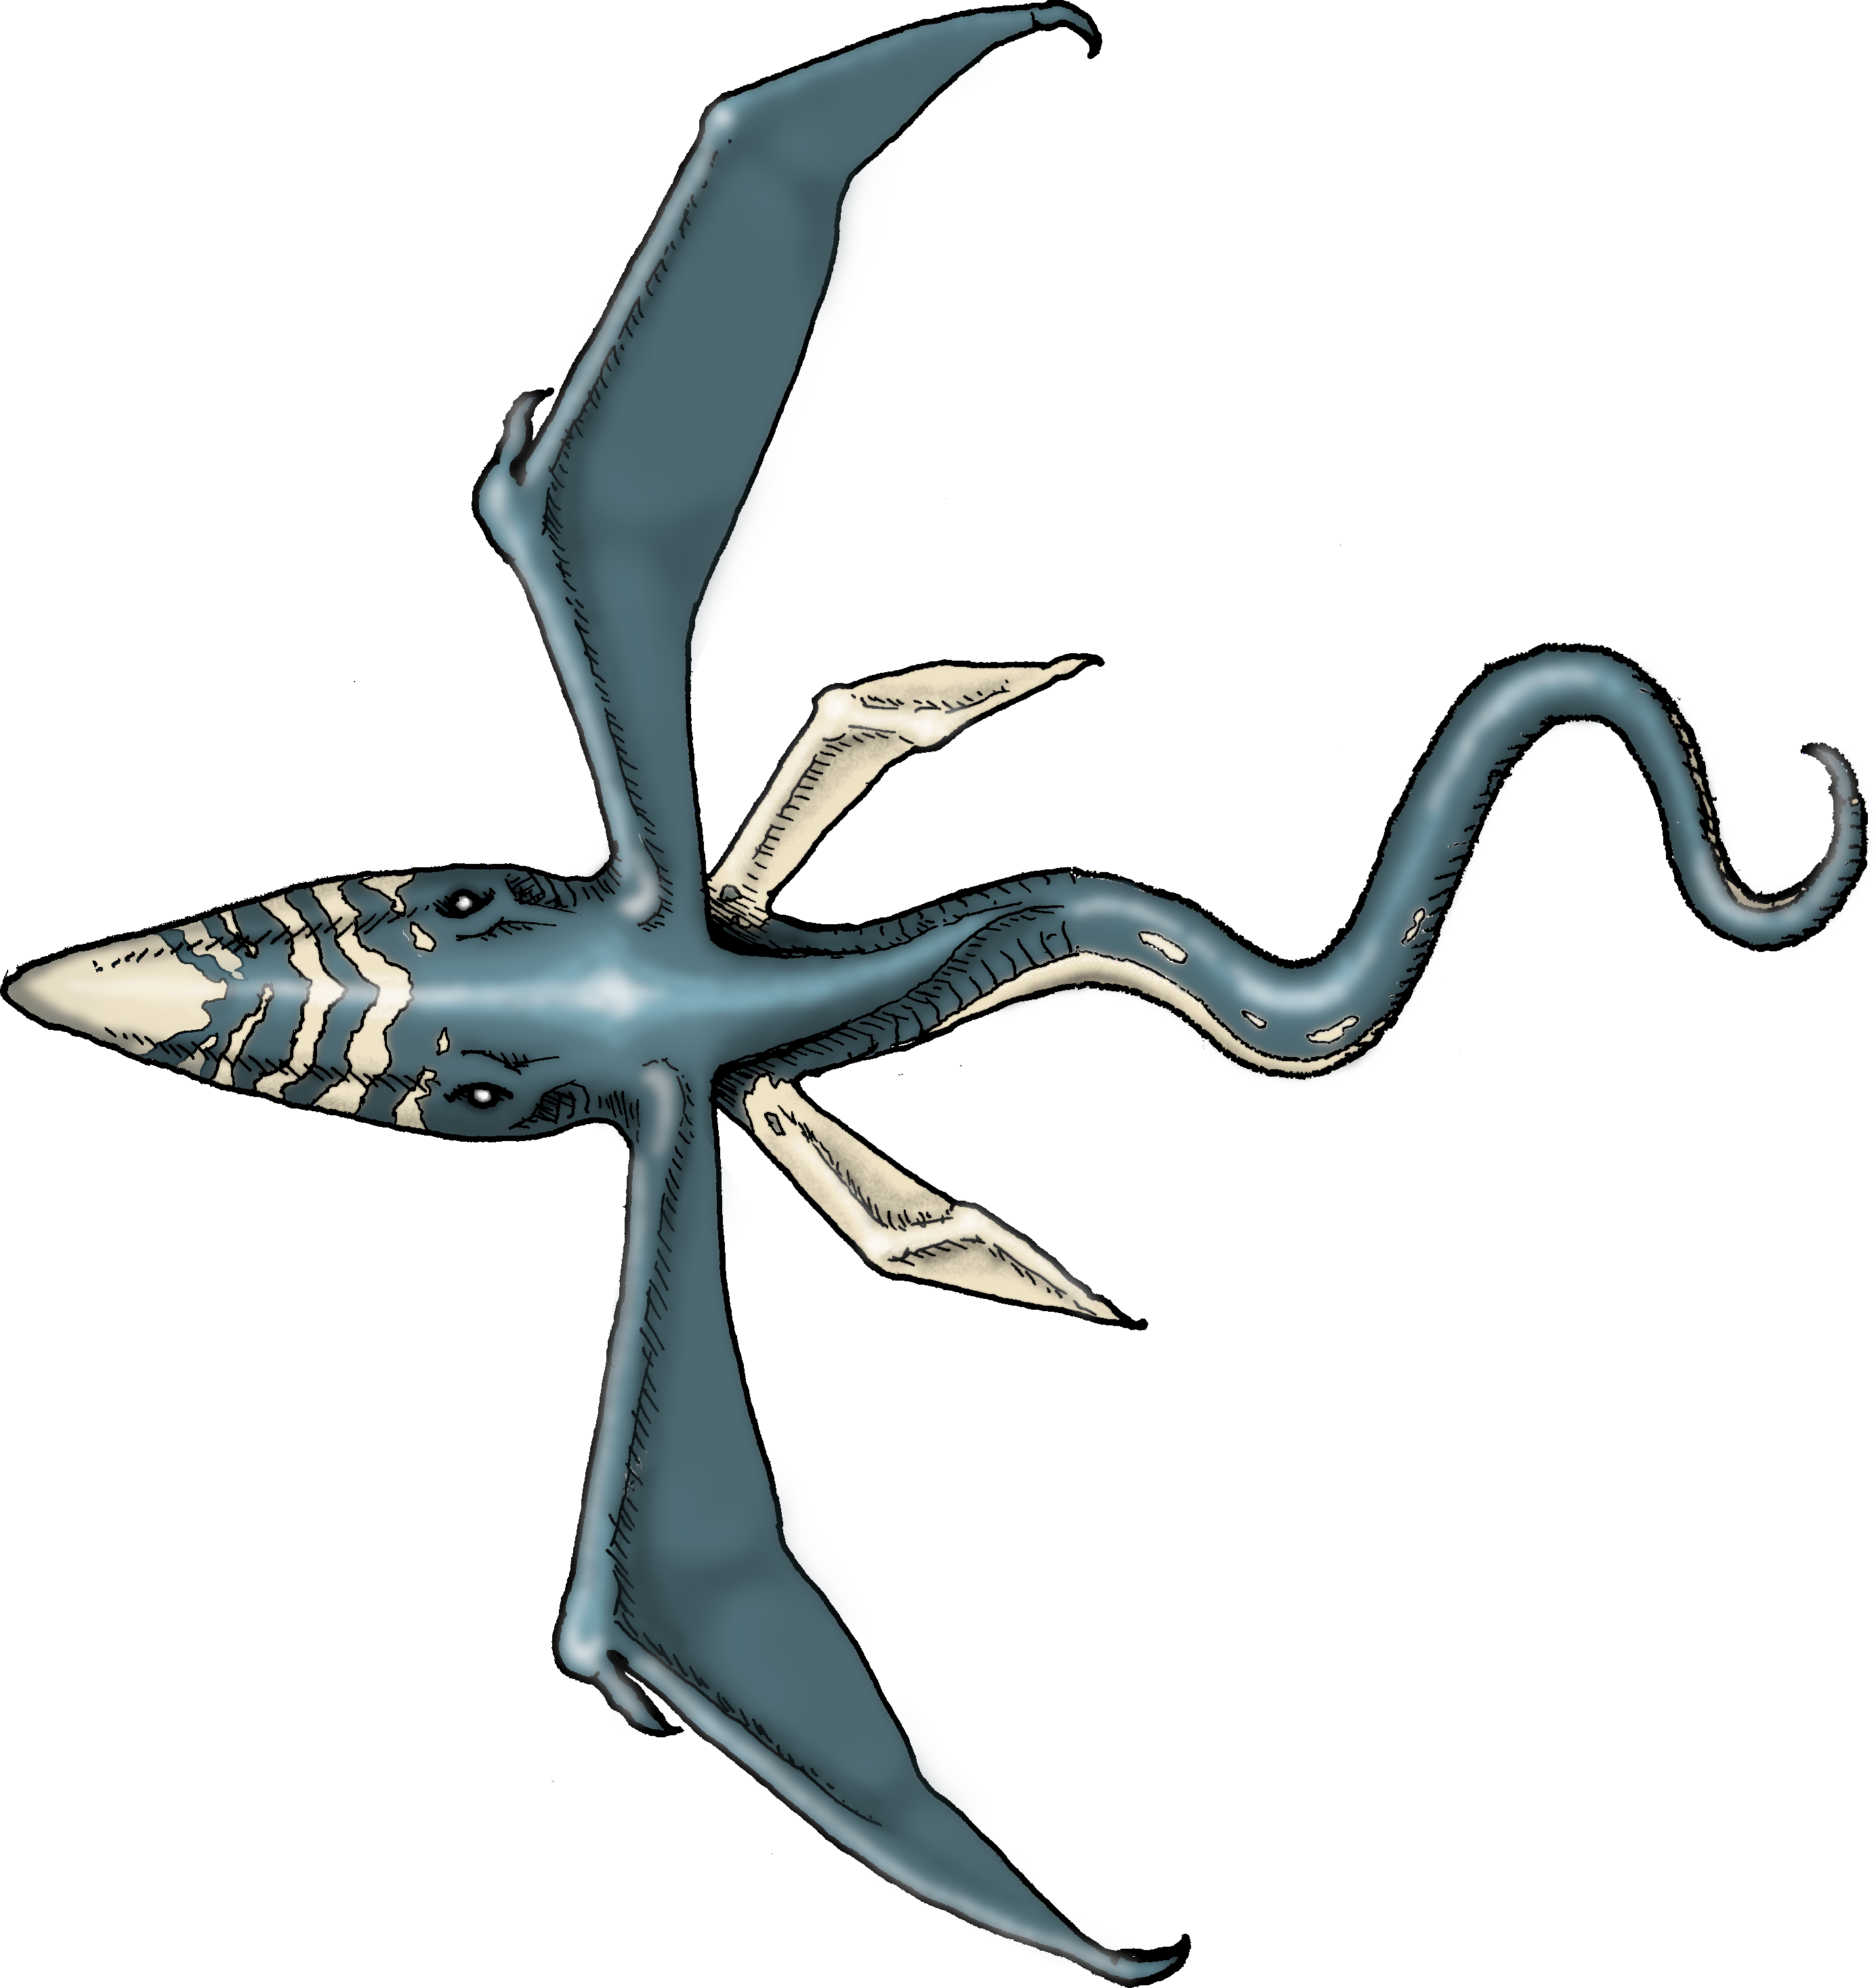
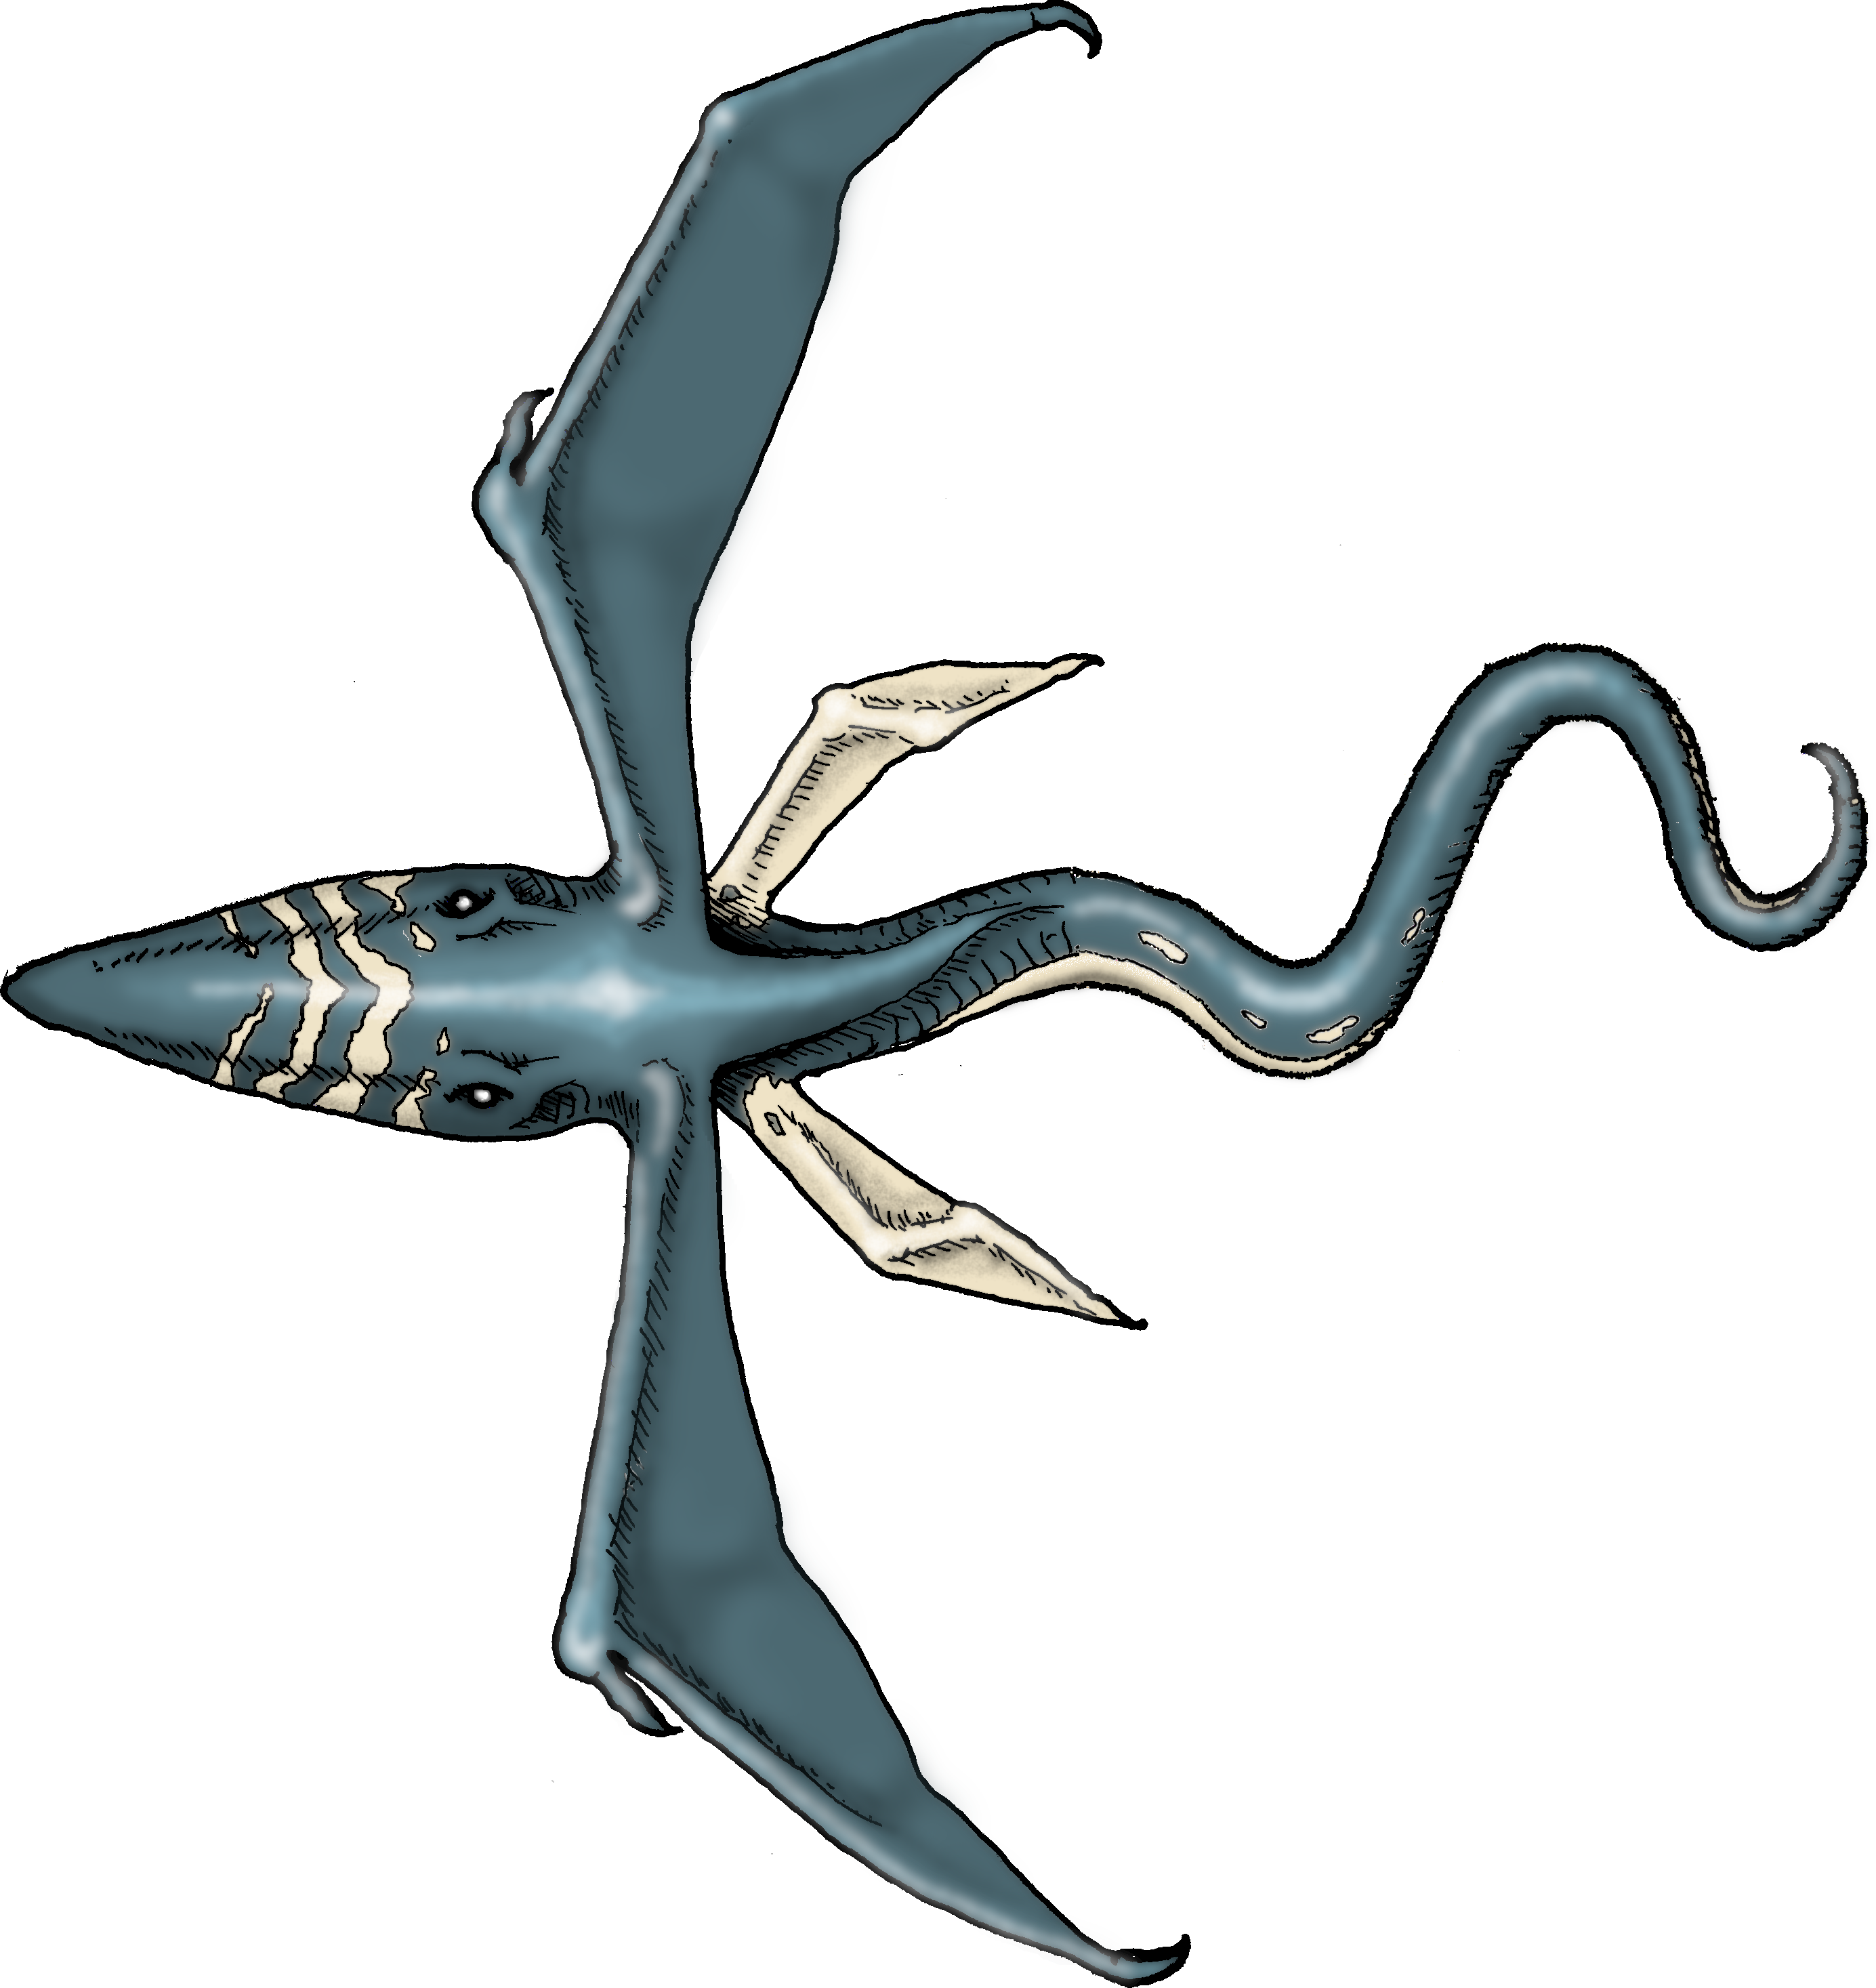
- Star Lancer token: this is a cool fight with a new Spelljammer creature, the Star Lancer, and so I decided to make a token for your personal use in this fight - check it out at the bottom of this page.
- Tarto joins in: if the players call for help Tarto comes down to join in. Or you may choose to bring Tarto down anyway since the Githyanki deals an average of 32hp damage if it hits with both attacks (and a mighty 38hp max damage on a single Crit hit!) - and so together with the Lancer is a real threat for squishier players. If Tarto joins the fight, it’s not immediately apparent from the guide, but you should use the veteran stat block included at the bottom of the adventure for Tarto, and just add in the musket attack that is described.
6. Extraction Force Fight: I liked this dual attack concept, and my players stuck around for the Giff fight
- Free map on its way! Watch this space, summer has got in the way a little and I’ve not quite finished the polished versions of the maps, but a cool ship vs ship map is on its way! I will post back here and on social when they’re ready.
- Balancing the fight: Tarto should accompany the players in this fight, using the Veteran stat block and the Musket attack (which is detailed earlier in the adventure). The Giffs are low AC so not hard to dispatch but it will likely take a few rounds and they have grenades that are quite dangerous - so be careful where you lob them if you have a small party or particularly squishy players. Otherwise this encounter should not be too tricky.
7. Freeing Miken:
- Don’t forget the errant grenade: A bit of randomness is always fun during battle, so don’t forget to throw this one in!
- Miken’s hallway is lightly obscured with smoke: it’s a minor point but to save you looking it up, this just means creatures have disadvantage on Wisdom (Perception) checks that rely on sight. That’s it!
- Bring in Wizpop! It is totally optional but you can bring in Wizpop any time (as a non-combatant) to help in the battle. Given only one Githyanki attacks at a time and they are both wounded, it’s unlikely your players will need much help but I brought in Wizpop anyway to add some flavour and give the players some fun options on how to leverage his help.
8. Graduation:
- Prep a line or 2: unless you are a Matt Mercer Level Legendary DM, you may want to prep a sentence or two for each of your players highlighting some of their deeds and mishaps throughout the last four adventures. This makes for a bit more of an engaging final graduation scene than trying to ad-lib, which is a nice touch in this milestone event. A chance for your players to shine!
- Loooot! The players get a magical item each at graduation. The list they give you is quite limited, for example the first item is only relevant to a warlock! So you may want to think through whether there are better fitting items for the rest of your party and prep some better options in advance for them to choose from.
Conclusion
The final instalment of Spelljammer Academy was great fun to play and although it’s clearly a teaser to get us all hooked in to buy the new Spelljammer campaign setting, given it is 100% free it has not disappointed!
I hope you’ve found these guides and resources useful. If you have, please hit subscribe and follow me on social using the buttons below! Watch this space for some more Spelljammer guides as I work through the full campaign setting.
In the meantime may the dice be kind!
PLAYING SPELLJAMMER ON ROLL20?
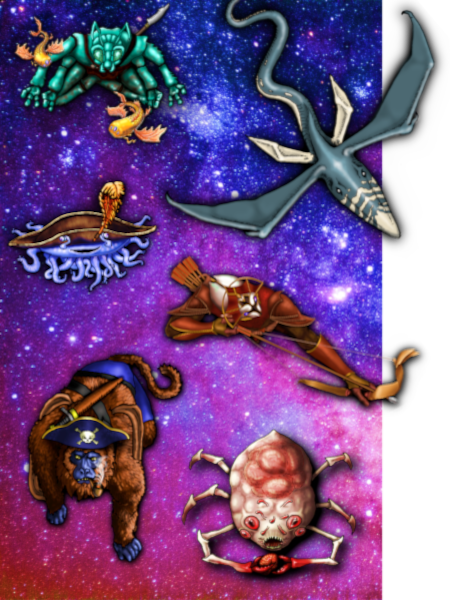
Get every token you will need to play Light of Xaryxis - part 1!Star Lancer Tokens:
Behold, the Star Lancer (with 2 nose varieties as you prefer!):
Maps for adventure 4:
Map 1: The asteroid cavern (I run this 28 x 31 grid squares on Roll20)
MORE MAPS COMING SOON! Watch this wildspace....
Like this? Subscribe and follow below!
... and follow us on social media:
Tried Dundle?
What's that you say - a 5-letter word game with a DnD theme? Try it here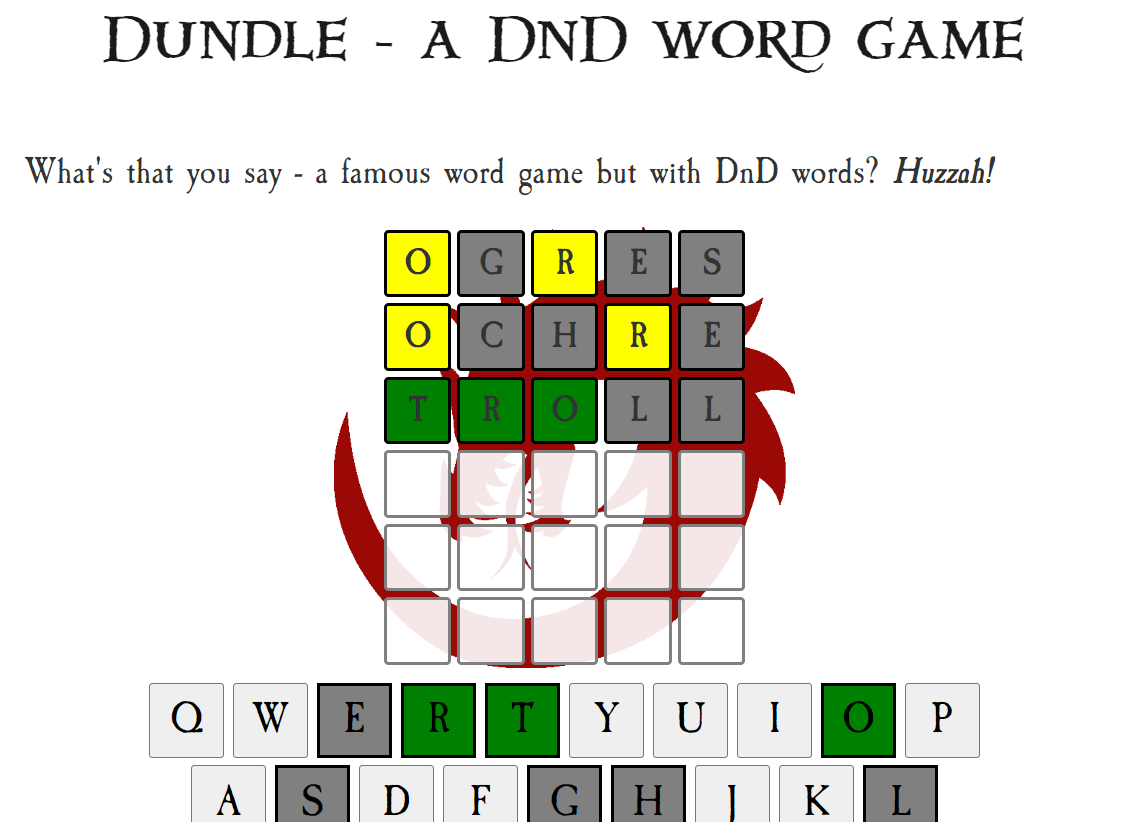
Not quite time for farewell? Head over to the blog to hear what the bards are talking about: